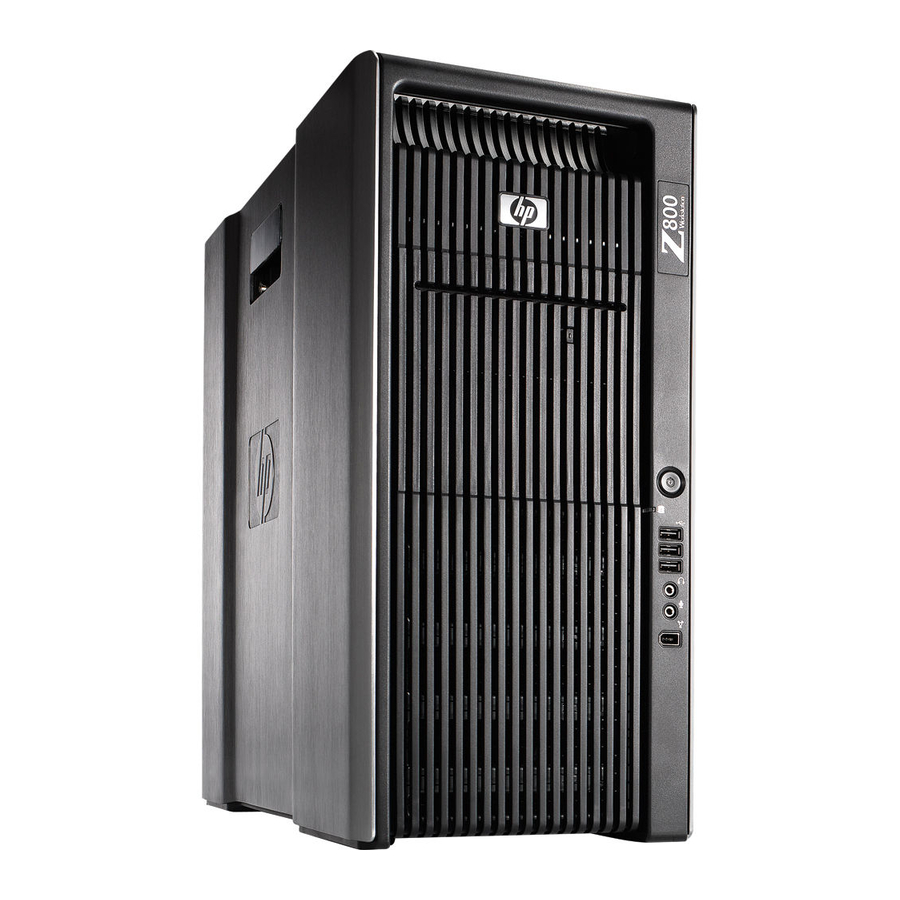
HP Z800 - Workstation - 6 GB RAM Installation Manual
Hp z800 workstation - nvidia tesla c1060 compute processor card installation
Hide thumbs
Also See for Z800 - Workstation - 6 GB RAM:
- Maintenance and service manual (266 pages) ,
- Installation manual (7 pages) ,
- Installation (2 pages)
Table of Contents
Advertisement
Quick Links
NVIDIA Tesla C1060 Compute Processor
card installation
Introduction
This document describes how to install an NVIDIA Tesla C1060 Compute Processor card with an
auxiliary power adapter cable in an HP
Kit contents
●
NVIDIA Tesla C1060 Compute Processor card
●
6-to-8 pin auxiliary power adapter cable
●
Installation instructions (this document)
●
Warranty information
Before you begin
To determine the compatibility of this product with your HP workstation, see QuickSpecs online at
http://www.hp.com/go/productbulletin.
Before installing an NVIDIA Tesla C1060 compute processor card, ensure the following criteria are met:
●
HP
800 Workstations must contain an 1110 Watt power supply.
●
The NVIDIA Tesla C1060 Compute Processor card is a dedicated computational unit, and must
be used in conjunction with a compatible graphics card.
ENWW
800 Workstation.
© 2009 Hewlett-Packard Development Company, L.P. Printed in the U.S.
Introduction
1
Advertisement
Table of Contents

Summary of Contents for HP Z800 - Workstation - 6 GB RAM
-
Page 1: Card Installation
800 Workstations must contain an 1110 Watt power supply. ● The NVIDIA Tesla C1060 Compute Processor card is a dedicated computational unit, and must be used in conjunction with a compatible graphics card. © 2009 Hewlett-Packard Development Company, L.P. Printed in the U.S. ENWW Introduction... -
Page 2: Warnings And Cautions
Warnings and cautions WARNING! Any surface or area of the equipment marked with this symbol indicates the presence of an electrical shock hazard. To reduce the risk of injury from electrical shock, do not open any enclosed area marked with this symbol. WARNING! To reduce the risk of electric shock or damage to your equipment: —... -
Page 3: Removing Components
Step 1—Preparing for component installation NOTE: Workstation models vary. All illustrations are examples only. Accessing the internal components of the workstation If you need help preparing the workstation for this installation, consult the removal and replacement procedures in the service guide for your workstation at http://www.hp.com/support/ workstation_manuals. - Page 4 Step 2—Installing the graphics card While lowering the card into the chassis, rotate the graphics card bulkhead under the rear chassis Align the card in a groove of the card guide and pivot the card until level. Press securely into the PCIe expansion slot Figure 2 Installing the card NVIDIA Tesla C1060 Compute Processor card installation...
- Page 5 Step 3—Connecting the power Close the expansion card retention clamp by rotating it downward . The retention clamp is secured by the expansion card support. NOTE: It is normal for the expansion card retention clamp to have a slight (5-10 degree) angle when closed.
- Page 6 Japanese 日本語 This document is available in Japanese. See http://www.hp.com/support/workstation_manuals, then select your workstation product and select Japanese from the drop down Manual Language menu. このドキュメントは日本語版が用意されています。http://www.hp.com/support/workstation_manuals にアクセスし、ご使用のワークステーション製品を選択し、Manual Language ドロップダウン メニ ューから Japanese を選択してください。 NVIDIA Tesla C1060 Compute Processor card installation ENWW...


