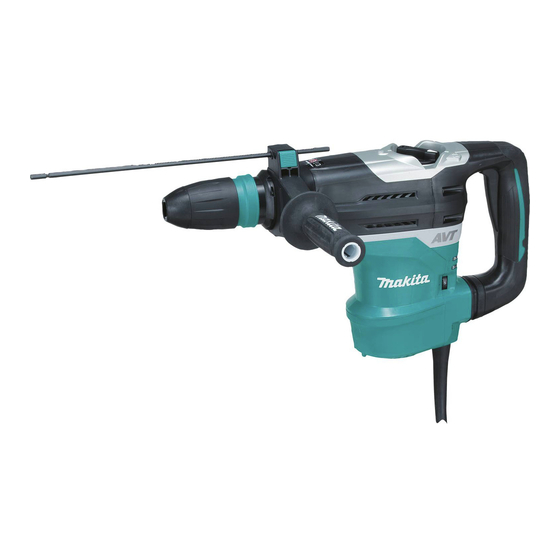
Makita HR4003C Instruction Manual
Hide thumbs
Also See for HR4003C:
- Instruction manual (68 pages) ,
- Technical information (19 pages) ,
- Instruction manual (13 pages)
Summary of Contents for Makita HR4003C
- Page 1 INSTRUCTION MANUAL Rotary Hammer HR4003C HR4013C HR5202C HR5212C DOUBLE INSULATION 014873 IMPORTANT: Read Before Using.
-
Page 2: Specifications
ENGLISH (Original instructions) SPECIFICATIONS Model HR4003C HR4013C HR5202C HR5212C Carbide-tipped bit 40 mm 52 mm Capacities Core bit 105 mm 160 mm No load speed (min 250 - 500 150 - 310 Blows per minute 1,450 - 2,900 1,100 - 2,250... -
Page 3: Rotary Hammer Safety Warnings
Do not abuse the cord. Never use the cord for Power tool use and care carrying, pulling or unplugging the power tool. 18. Do not force the power tool. Use the correct Keep cord away from heat, oil, sharp edges or power tool for your application. -
Page 4: Functional Description
Hold power tool insulated gripping FUNCTIONAL DESCRIPTION surfaces, when performing an operation where the cutting accessory may contact hidden wiring or its own cord. Cutting CAUTION: accessory contacting a "live" wire may make Always be sure that the tool is switched off and •... -
Page 5: Speed Change
1. Change lever Refer to the table below for the relationship between the 2. Pointer number settings on the adjusting dial and the revolutions/blows per minute. For Model HR4003C, HR4013C Number on Revolutions per Blows per minute adjusting dial minute... -
Page 6: Torque Limiter
ASSEMBLY 1. Switch button CAUTION: Always be sure that the tool is switched off and • unplugged before carrying out any work on the tool. Side handle 014880 The switch button projects out and lights in red. Use a bull point, cold chisel, scaling chisel, etc. NOTE: When using the tool in the symbol mode, the... -
Page 7: Depth Gauge
The side grip swings around to either side, allowing Bit angle (when chipping, scaling or easy handling of the tool in any position. Loosen the demolishing) side grip by turning it counterclockwise, swing it to the desired position and then tighten it by turning clockwise. 1. -
Page 8: Operation
CAUTION: There is a tremendous and sudden twisting force • exerted on the tool/bit at the time of hole break- through, when the hole becomes clogged with chips and particles, or when striking reinforcing rods embedded in the concrete. Always use the side grip (auxiliary handle) and firmly hold the tool by both side grip and switch handle during operations, and maintain good balance and safe... - Page 9 1. Screws 2. Screw 3. Crank cap cover 014038 Loosen the screws and remove the change lever. 014035 (For model HR4003C, HR5202C) Loosen the six screws Remove the crank cap cover. and remove the handle. 1. Control plate 1. Screws 014039 Remove the control plate.
-
Page 10: Optional Accessories
014041 If you need any assistance for more details regarding Wipe out the old grease inside and replace with fresh these accessories, ask your local Makita Service Center. grease: SDS-MAX Carbide-tipped bits • For model HR4003C, HR4013C: 30g SDS-MAX bull point •... - Page 12 Makita Corporation www.makita.com 885355-2...


