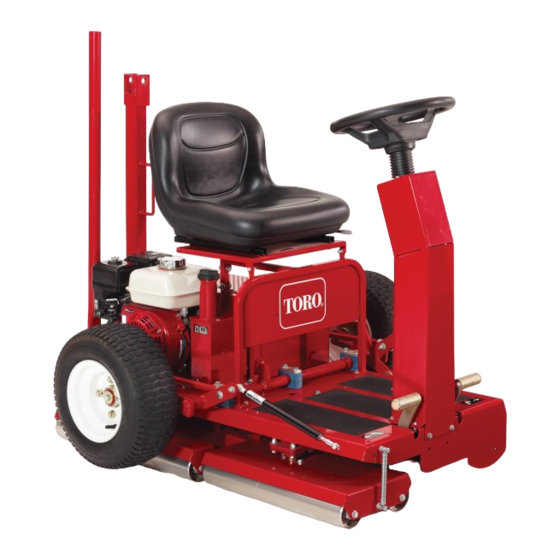
Toro GreensPro 1200 Installation Instructions
Greens roller
Hide thumbs
Also See for GreensPro 1200:
- Service manual (88 pages) ,
- Operator's manual (28 pages) ,
- Installation instructions (4 pages)
Advertisement
Quick Links
Smoothing Roller Part Kit
GreensPro
Model No. 127-8002
This product contains a chemical or chemicals known to the State of California to
Loose Parts
Use the chart below to verify that all parts have been shipped.
Description
No parts required
Press tool
Spacer disc
Flocked bearing shield
Bearing
Long spacer tube
Short spacer tube
Bearing housing assembly
O-ring
Nut
Hex-head bolt
Split washer
Washer
Removing the Existing Rollers
1. Raise the machine up off the ground to access the
roller assemblies.
2. Remove the hex-head bolts, the washers, and the split
washers securing the sides of the roller assemblies to
the steering heads (Figure 1).
© 2014—The Toro® Company
8111 Lyndale Avenue South
Bloomington, MN 55420
™
1200 Greens Roller
WARNING
CALIFORNIA
Proposition 65 Warning
cause cancer, birth defects, or reproductive harm.
Qty.
–
1
4
16
4
6
2
4
8
8
8
8
8
Register at www.Toro.com.
Remove the existing rollers.
Disassemble the rollers.
Assemble the rollers.
Install the roller assemblies.
1. Washer
2. Split washer
Original Instructions (EN)
All Rights Reserved *3383-774* A
Printed in the UK
Form No. 3383-774 Rev A
Installation Instructions
Use
1
Figure 1
3. Hex-head bolt
G025382
Advertisement

Summary of Contents for Toro GreensPro 1200
- Page 1 (Figure 1). G025382 Figure 1 1. Washer 3. Hex-head bolt 2. Split washer © 2014—The Toro® Company Register at www.Toro.com. Original Instructions (EN) All Rights Reserved *3383-774* A 8111 Lyndale Avenue South Printed in the UK Bloomington, MN 55420...
- Page 2 Note: Take care not to press out the housing. 3. Remove the roller assemblies from the machine, and discard the bolts, washers, and split washers. E. Repeat steps C and D for the second roller half. Disassembling the Rollers 1. Remove the nuts from the ends of each roller assembly (Figure 2).
- Page 3 Note: Use the existing roller tubes and the existing inner bearing housings. Important: If necessary, press the existing bearing housing into the roller tube to seat it into position. 4. Install a bearing into the existing bearing housing in the roller tube (Figure 7). G025348 Figure 10 1.
- Page 4 Installing the Roller Assemblies 1. Install the roller assemblies into the steering heads of the machine, and secure each end with a new hex-head bolt, a new split washer, and a new washer (Figure 1). Important: Align the short roller assemblies so that the short tubes are on the outside and the long tubes are on the inside (Figure 12).


