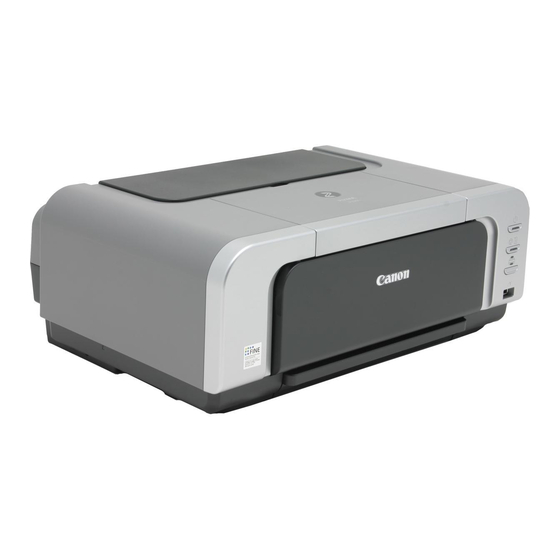
Canon PIXMA IP4200 Installation Instruction
Continuous ink supply system
Hide thumbs
Also See for PIXMA IP4200:
- Quick start manual (104 pages) ,
- Service manual (57 pages) ,
- Installation instruction (6 pages)
Table of Contents
Advertisement
Quick Links
Download this manual
See also:
Service Manual
Continuous Ink Supply System
CANON PIXMA IP4200
Installation Instruction
This Version of the Continuous Ink Flow System comes with Prefilled
Cartridges and Auto Reset Chips. You just need to fill the
Reservoir bottles and print! The whole operation is very easy. It'
s really an effective tool to save your money.
for
For ST Prefilled Version
With Original Chips
Advertisement
Table of Contents

Summary of Contents for Canon PIXMA IP4200
- Page 1 Continuous Ink Supply System CANON PIXMA IP4200 Installation Instruction For ST Prefilled Version With Original Chips This Version of the Continuous Ink Flow System comes with Prefilled Cartridges and Auto Reset Chips. You just need to fill the Reservoir bottles and print! The whole operation is very easy. It’...
- Page 2 Most people get a perfect nozzle check the first time after installing the ST Continuous Ink Supply system; others may need to run two or three cleaning cycles or let the printer sit for a while before they get the perfect results.
- Page 3 Put CISS on the right side of the printer. In the meantime, place all the tubes at correct position. Then pull out the small rubber plug and insert the air filters into air holes as the above pictures shown. 2) Install chips Carefully remove the original chips from original cartridges as the above pictures.
- Page 4 4) Install the tubing. Clamp the tube into the support arm as the above pictures shown. 5) Adjust tubing Adjust the tube length and move the cartridge carriage from left to right for several times. Please make sure there will be no block and collision when the cartridges moving from one side to the other. Insure there's plenty length of tube to make the cartridge carriage can thoroughly move to the right side.
- Page 5 Just keep the printer unuse for about one hour and print a Demo Page again. If it is still abnormal, please kindly contact local dealer.
- Page 6 5、Attention for maintenance: Take out the CISS including the inner cartridges and other components. Then remove support arm from printer, and place the original cartridges in. Please inquire local dealer before sending to maintenance. 6、Notice: 1. Please don’t take out cartridge at random after installing the CIS system. Keep the reservoir bottles on the same level with the printer.


