Advertisement
Available languages
Available languages
Quick Links
Advertisement

Summary of Contents for Husqvarna 2620199902168
- Page 1 2620199902168 HUSQVARNA MOTORCYCLES ACCESSORIES INFORMATION TRIPLE CLAMP 05.2018 3.402.294 *3402294* Husqvarna Motorcycles GmbH Stallhofnerstraße 3 T: + 43 / 7742 / 60 00-0 5230 Mattighofen, Austria W: www.husqvarna-motorcycles.com...
- Page 2 3 DEUTSCH Wir freuen uns, dass Sie sich für dieses Produkt entschieden haben. Unser hochwertiges Qualitätsprodukt ist rennerprobt und wurde speziell für sportliche Herausforderungen entwickelt. Eine korrekte Montage des Produktes ist unerlässlich, um ein Maximum an Sicherheit und Funktionalität gewährleisten zu können. Bitte befolgen Sie daher die Montageanleitung oder wenden Sie sich an Ihren autorisierten Fachhändler.
- Page 3 1x Bundschraube M8x25 Alle Arbeiten, die mit diesem Symbol gekennzeichnet sind, erfordern Fachkenntnisse und technisches Verständnis. Lassen Sie diese Arbeiten, im Interesse Ihrer eigenen Sicherheit, in einer autorisierten Husqvarna Motorcycle Fachwerk- statt durchführen! Dort wird Ihr Motorrad von speziell geschulten Fachkräften mit dem erforderlichen Spezialwerkzeug optimal betreut.
-
Page 4: Montage
Montage - Untere Gabelbrücke einbauen (s. Bedienungsanleitung). Nacharbeit - Kotfl ügel vorn einbauen (s. Bedienungsanleitung). - Lenkerpolster montieren. - Startnummerntafel einbauen (s. Bedienungsanleitung). - Vorderrad einbauen (s. Bedienungsanleitung). - Kabelstrang, Bowdenzüge, Brems- und Kupplungsleitung auf Freigängigkeit und Verlegung kontrollieren (s. Bedienungsanleitung). - Steuerkopfl... -
Page 5: Preliminary Work
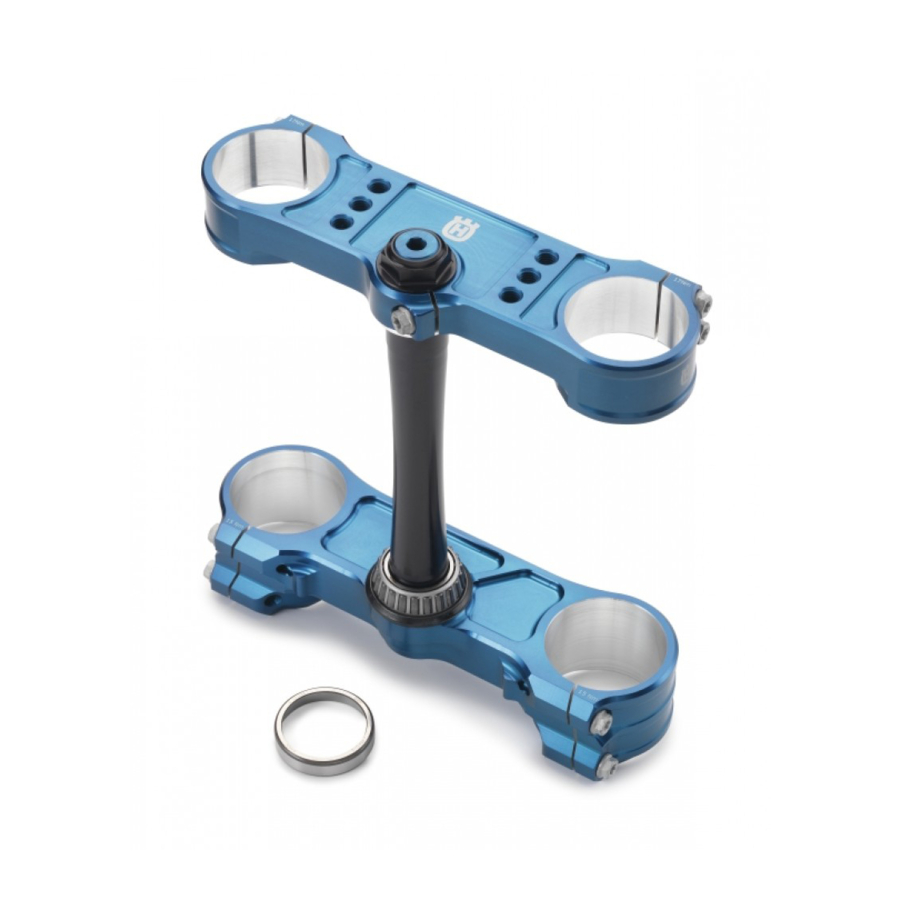
Scope of supply 1x top triple clamp 1x bottom triple clamp 1x steering head bearing (preassembled) 1x steering head seal (preassembled) 1x steering stem (preassembled) 8x collar screw M8x40 1x collar screw M10x1.5 (preassembled) (tightening torque 60 Nm) 1x collar screw M8x25 All work marked with this symbol requires specialist knowledge and technical understanding. - Page 6 Assembly - Install lower triple clamp (see the owner’s manual). Final steps - Install the front fender (see the owner’s manual). - Mount the handlebar pad. - Install the start number plate (see the owner’s manual). - Install the front wheel (see the owner’s manual).
- Page 7 Materiale fornito 1 piastra forcella superiore 1 piastra forcella inferiore 1 cuscinetto del cannotto di sterzo (premontato) 1 supporto per O-ring (premontato) 1 perno dello sterzo (premontato) 8 viti fl angiate M8x40 1 vite fl angiata M10x1,5 (premontata) (coppia di serraggio da 60 Nm) 1 vite fl...
- Page 8 Montaggio - Montare la piastra inferiore della forcella (v. manuale d’uso). Operazione conclusiva - Montare il parafango anteriore (v. manuale d’uso). - Montare il paracolpi del manubrio. - Montare la tabella portanumero (v. manuale d’uso). - Montare la ruota anteriore (v.
- Page 9 Contenu de la livraison 1x té de fourche supérieur 1x té de fourche inférieur 1x roulement de colonne de direction (prémonté) 1x joint de colonne de direction (prémonté) 1x broche de direction (prémontée) 8x vis à épaulement M8x40 1x vis à épaulement M10x1,5 (prémontée) (couple de serrage 60 Nm) 1x vis à...
- Page 10 Montage - Monter le T de fourche inférieur (voir le manuel d’utilisation). Travaux ultérieurs - Monter le garde-boue avant (voir le manuel d’utilisation). - Monter la mousse de guidon. - Monter la plaque avant cross (voir le manuel d’utilisation). - Monter la roue avant (voir le manuel d’utilisation).
- Page 11 Volumen de suministro 1x pletina de dirección superior 1x pletina de dirección inferior 1x cojinete de dirección (premontado) 1x junta tórica del cojinete de dirección (premontada) 1x eje de dirección (premontado) 8x tornillos de collarín M8x40 1x tornillo de collarín M10x1,5 (premontado) (par de apriete 60 Nm) 1x tornillo de collarín M8x25...
-
Page 12: Montaje
Montaje - Montar la pletina de dirección inferior (véase el manual de instrucciones). Trabajos posteriores - Montar el guardabarros delantero (véase el manual de instruccio- nes). - Montar el protector de manillar. - Montar la placa portanúmeros frontal (véase el manual de instruc- ciones).


