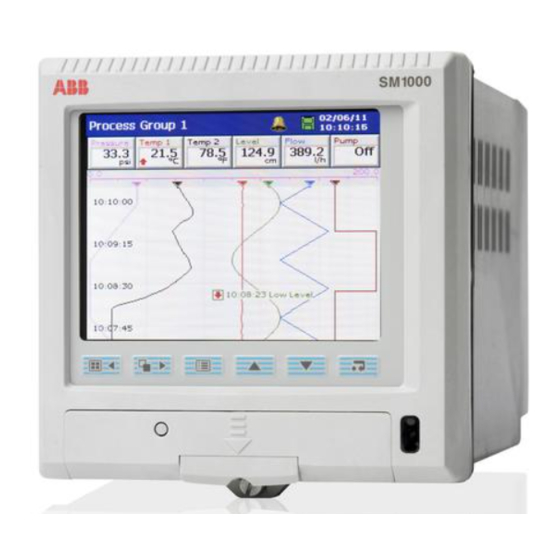
ABB SM1000 Quick Start Manual
Hide thumbs
Also See for SM1000:
- User manual (134 pages) ,
- Replacing instructions (8 pages) ,
- Installation instructions manual (8 pages)
Advertisement
Quick Links
Download this manual
See also:
User Manual
1
Make Connections
& Power-up the
Instrument
2
Select the Configuration Level
and a Quick Start Template
Operator 1
Configuration
Operator 2
User 1
Operator 3
Use the up and down keys to select your password.
Confirm with Enter key
Operator 4
QuickStart
Summary
0000
User 1
Template
Channels 1.1 to 1.6
Edit Current Configuration
4 to 20mA inputs,
QSMilliAmp
0 to 100.0 units
Open Configuration
QSTHC_C
Thermocouple type K
Configuration File
New Configuration
or QSTHC_F
0 to 1000°C or 0 to 1000°F
QSRTD_C
Pt100 inputs
Cancel
or QSRTD_F
0 to 1000°C or 0 to 1000°F
Disable Recording in Configuration
4 to 20mA, 0 to 180 l/hr,
QSFlow
Totalizer enabled
Delayed High/Low Process Alarm
QSDairy
Engineering Range –10 to 90°C
Common
Group 1
Channels 1.1 - 1.6
Main
Group 2
Configuration
Channels 2.1 - 2.6
Menu
Functions
I/O Modules
Exit
3
Set the Time and Date
Time
Common
SM1000 – QUICK START GUIDE
4
Set the Sample Rate
Connection
Details
5
Select the Views Required
and the Operator Menu Choices
Chart
6
Set Up the Archive Files
Archive
7
Change the Channel Configurations
Group 1
Recording
Chart speed Sample Rate
On board storage
10 mm/h
60s
12 months
20 mm/h
30s
6 months
60 mm/h
10s
2 months
120 mm/h
5s
30 days
240 mm/h
2s
14 days
720 mm/h
1s
6 days
Digital
Bar
Process
• Set the Archive File Enables
– i.e. the files to be archived
• Set the Filename Tag
• Set the New File Interval
(hourly, monthly or none)
Channels 1.1 - 1.6
Channel n.n
• Select the Channel Source
Set Up
• Set the Input Filter Type: Instantanteous or Max.
and Min. Values during the sample interval.
• Select the input type, linearizer, ranges and
Analog I/P
tag name
• Select the Alarm type, set the alarm trip points,
Alarm A
the tag and the hysteresis.
Alarm B
• Set the Count Rate, Preset & Predetermined
Totalizer
Count values
8
Set Up I/O
I/O Modules
A:Analog I/P
6
Channels
Enabled
B:Relay
C:Hybrid
9
Exit Configuration and Save Changes
Exit
10
Start Recording!
Insert media to start the archiving process automatically
Note. For
detailed
configuration parameters, refer to the SM1000 User
Guide, part number IM/SM1000.
Note. Modules fitted are
detected automatically
I/O Modules
• Set the Mains Rejection Frequency
• Select the Relay Source and the Relay
Polarity
• Select the Analog Output Source & Ranges
• Select the Digital Output Sources & Polarity
<configuration filename>.cfg
Save as Current Configuration
Save Configuration
<configuration filename>.cfg
Internal Storage
Cancel
External Storage
information
on
setting
all
Advertisement

Summary of Contents for ABB SM1000
- Page 1 Analog I/P tag name Note. For detailed information setting configuration parameters, refer to the SM1000 User • Select the Alarm type, set the alarm trip points, Alarm A Guide, part number IM/SM1000. the tag and the hysteresis. Alarm B • Set the Count Rate, Preset & Predetermined...
- Page 2 Howard Road, St. Neots RTA2 • Weekly Enables Filter Cambridgeshire, PE19 8EU RTA3 Alarm acknowledge Tel: +44 (0)1480 475 321 RTA4 IM/SM1000–Q Issue 3 Fax: +44 (0)1480 217 948...


