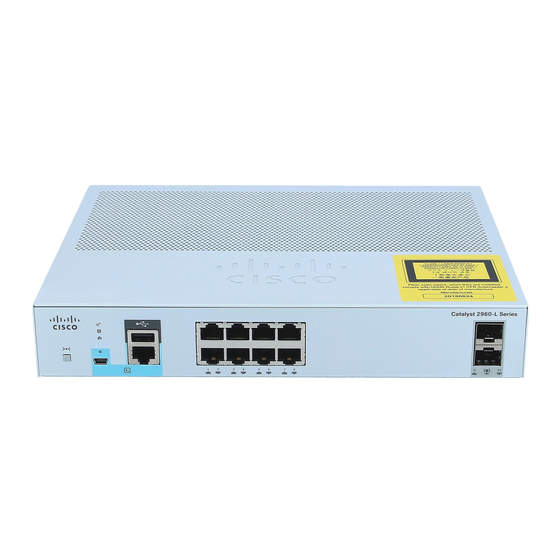
Summary of Contents for Cisco WS-C2960L-8TS-LL
- Page 1 Cisco Catalyst 2960-L Series Easy Setup Guide You can easily set up your switch in this step-by-step guide. Connecting PC to Switch Configuring Switch...
-
Page 2: Before You Begin
RJ-45 console port. The RJ-45 Ethernet ports are numbered 1 to 8 on the 8-port model, 1 to turn solid green. 16 on the 16-port model, 1 to 24 on the 24-port model, 1 to 48 on the 48-port model. Cisco Catalyst 2960-L Series Easy Setup Guide... -
Page 3: Configuring Switch
・ Your PC settings use DHCP. During the Express Setup mode, the switch acts as a DHCP server. If your PC has a static IP address, temporarily configure your PC settings to use DHCP. Cisco Catalyst 2960-L Series Easy Setup Guide... -
Page 4: Interface Configuration
You can skip this step if your network does not use a VLAN for voice traffic. MEMO [Enable Password] controls access to the privileged EXEC mode in the CLI (Command ❺ Line Interface). Cisco Catalyst 2960-L Series Easy Setup Guide... -
Page 5: Layer 3 Configuration
You can configure each ports in the Web UI or CLI (Command Line Interface) after switch here, you can easily access to the Web UI by entering the IP address into a web completing the Configuration Setup Wizard. browser address bar, after completing the Configuration Setup Wizard. Cisco Catalyst 2960-L Series Easy Setup Guide... -
Page 6: Advanced Configuration
Your PC still has an IP address which was assigned by the switch during the Express Setup mode and needs to have an appropriate IP address to reach the new IP address of the switch. To do so, simply restart your PC. Cisco Catalyst 2960-L Series Easy Setup Guide... - Page 7 WS-C2960L-48PS-AP © 2016 Cisco and/or its affiliates. All rights reserved. Cisco and the Cisco logo are trademarks or registered trademarks of Cisco and/or its affiliates in the U.S. and other countries. To view a list of Cisco trademarks, go to this URL: www.cisco.com/go/trademarks. Third-party trademarks mentioned are the property of their respective owners. The use of the word...


