Advertisement
Advertisement
Table of Contents

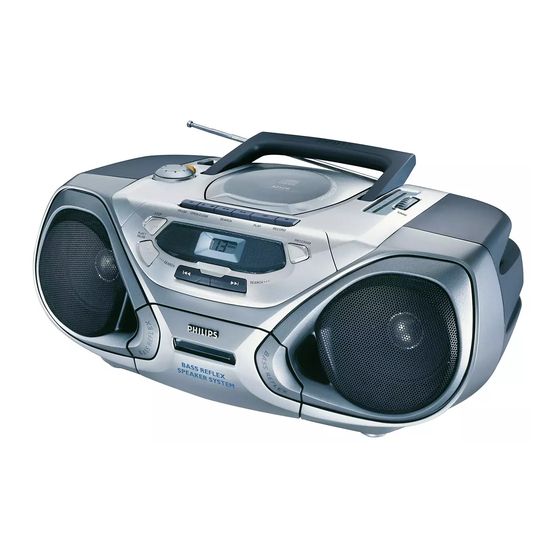
Summary of Contents for Philips AZ1030/01
- Page 1 AZ 1030 CD Radio Cassette Recorder...
- Page 2 Nº de Serie: LEA CUIDADOSAMENTE ESTE INSTRUCTIVO ANTES DE USAR SU APARATO. Radiograbadora con CD AZ 1030/01, AZ1030/16 110–127/220–240 V; ~50–60 Hz 11 W Philips Mexicana, S.A. de C.V. Norte 45, # 669, Col. Industrial Vallejo Philips Hong Kong Ltd. China _______________________________...
-
Page 3: Table Of Contents
Controls...4 English Power supply ...5 Basic functions ...6 Radio...6 Comandes ...14 Français Alimentation ...15 Fonctions de base...16 Radio...16 Controles...24 Español Fuente de alimentación ...25 Funciones básicas...26 Radio...26 Controls...4 ∑ Power supply ...5 Basic functions ...6 Radio...6 Controles...44 Português Alimentação...45 Funções básicas...46 Rádio...46 Guarantee and Service valid for Guarantees... -
Page 4: Basic Functions
CONTROLS BASIC FUNCTIONS 1 POWER: CD, TAPE, BAND ...selects the sound source 2 DBB...enhances the bass 3 VOLUME ...adjusts the volume level p...3.5mm headphone socket (back of the set) Note: Connecting the headphones will switch off the speakers. 5 CASSETTE RECORDER PAUSE ;... -
Page 5: Power Supply
Batteries (optional) Open the battery compartment of the set and insert 6 batteries, type R20, UM-1 or D-cells (preferably alkaline). Remove batteries if they are flat or if the set is not going to be used for a long time. Batteries contain chemical substances, so they should be disposed of properly. -
Page 6: Basic Functions
BASIC FUNCTIONS Switching the set on and off Set the POWER slider to the desired sound source: CD, TAPE, or BAND (for radio). The set is switched off when the POWER slider is set to and the keys of the tape deck are released. Note: If you use batteries, switch the set off after use. -
Page 7: Cd Player
Playing a CD 1 Set the POWER slider to CD. 2 Press / OPEN to open the CD compartment. 3 Insert an audio CD (printed side up) and close the CD compartment. ™ The CD player starts and scans the contents list of the CD. Then, the CD player stops. - Page 8 CD PLAYER Search backward and forward ∞ Selecting another track Briefly press the ∞ or § button once/several times to skip to the beginning of the current, previous or subsequent track(s). During CD play: CD play continues automatically with the selected track. When CD play is stopped: Press 2;...
- Page 9 CD MODE: Programming track numbers You can select a number of tracks and store these in the memory in the desired sequence. You can store any track more than once. A maximum of 20 tracks can be stored in the memory. 1 When CD play is stopped, select the desired track with ∞...
-
Page 10: Cassette Recorder
CASSETTE RECORDER Playing a cassette 1 Set the POWER slider to TAPE. 2 Press OPEN·STOP / 9 to open the cassette compartment. 3 Insert a recorded cassette with the open side upwards and close the cassette compartment. 4 Press PLAY 1 to start playback. 5 Press 6 or 5 to rewind or fast forward the tape. - Page 11 Recording from the CD player – CD synchro start 1 Set the POWER slider to CD. 2 Insert a CD and, if desired, program the track numbers. 3 Press OPEN·STOP / 9 to open the cassette compartment. 4 Insert a blank, unprotected, cassette and close the cassette compartment.
-
Page 12: General Information
GENERAL INFORMATION General maintenance Do not expose the set, batteries, CDs, or tapes to humidity, rain, sand, or excessive heat (caused by heating equipment or direct sunlight). The mechanical parts of the set contain self-lubricating bearings and must not be oiled or lubricated! You can clean the set with a soft, slightly dampened, lint-free cloth. -
Page 13: Troubleshooting
WARNING Under no circumstances should you try to repair the set yourself as this will invalidate the guarantee. Do not open the set as there is a risk of electric shock. Problem Possible cause No sound, VOLUME is not adjusted. no power Headphones are connected.


