Table of Contents
Advertisement
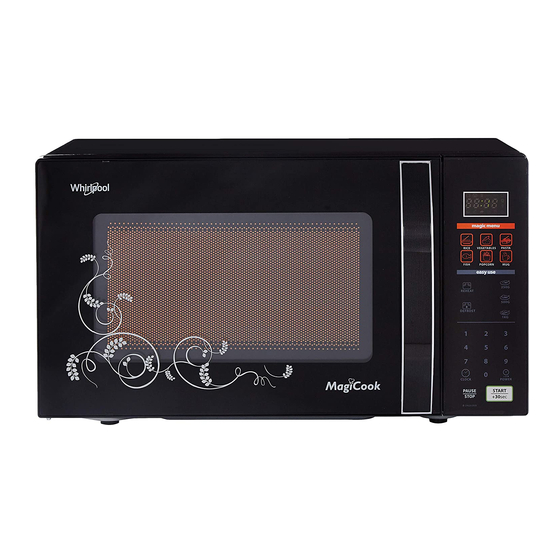
MODEL: MAGICOOK 20 L Classic-W(NEW) & 20 L Classic-S(NEW)
M i c r o w a v e O v e n
O w n e r ' s M a n u a l
Please read these instructions carefully before installing and operating the oven.
Record in the space below the SERIAL NO. found on the nameplate on your oven and retain
this information for future reference.
SERIAL NO.
Advertisement
Table of Contents

Summary of Contents for Whirlpool MAGICOOK 20 L Classic-W
- Page 1 MODEL: MAGICOOK 20 L Classic-W(NEW) & 20 L Classic-S(NEW) M i c r o w a v e O v e n O w n e r ' s M a n u a l Please read these instructions carefully before installing and operating the oven.
-
Page 3: Table Of Contents
CONTENTS ................................1 PRECAUTIONS TO AVOID POSSIBLE EXPOSURE TO EXCESSIVE MICROWAVE ENERGY ....2 SPECIFICATIONS..............................2 IMPORTANT SAFETY INSTRUCTIONS ......................3 INSTALLATION ............................... 5 RADIO INTERFERENCE ............................5 GROUNDING INSTRUCTIONS ..........................5 MICROWAVE COOKING PRINCIPLES ...................... -
Page 4: Precautions To Avoid Possible Exposure To Excessive Microwave Energy
Do not attempt to operate this oven with the door open since open door operation can result in harmful exposure to microwave energy. It is important not to defeat or tamper with the safety interlocks. Do not place any object between the oven front face and the door or allow soil or cleaner residue to accumulate on sealing surfaces. -
Page 5: Important Safety Instructions
When using electrical appliance basic safety burns. precautions should be followed, including the 10. Eggs in their shell and whole hard-boiled eggs following: should not be heated in microwave ovens since WARNING: To reduce the risk of burns, electric they may explode even after microwave heating shock, fire, injury to persons or exposure to has ended. - Page 6 cooktop or other heat-producing appliance. if 32. Please secure the turn table before you move installed could be damaged and the warranty the appliance to avoid damages. would be avoid . 33. Caution: It is dangerous to repair or maintain 21.
-
Page 7: Installation
Make sure that all the packing materials are For correct operation, the oven must have removed from the inside of the door. sufficient airflow. Allow 20cm of space above the oven, 10cm at back and 5cm at both sides. WARNING: Check the oven for any damage, Do not cover or block any openings on the such as misaligned or bent door, damaged door appliance. -
Page 8: Microwave Cooking Principles
Arrange food carefully. Place thickest areas Turn foods over once during microwaving to towards outside of dish. speed cooking of such foods as chicken and Watch cooking time. Cook for the shortest hamburgers. Large items like roasts must be amount of time indicated and add more as turned over at least once. -
Page 9: Part Names
1. Door Safety Lock System 2. Oven Window 3. Roller Ring 4. Control Panel 5. Wave Guide (Please do not remove the mica plate covering the wave guide) 6. Glass Tray... -
Page 10: Control Panel
DISPLAY OFF Press to set the oven save power mode. MENU ACTION SCREEN Cooking time, power, indicators and present time are displayed. MENUS PADS There are eight kinds of cook menus. Press to set auto cook function. WEIGHT PADS(250G/500G/1KG) Press to enter the weight of defrosted or reheated food. NUMBER PADS(0-9) Press to enter time or the weight of food. -
Page 11: Operation Instructions
SETTING THE CLOCK In standby mode, press CLOCK pad. Use the number pads to enter the correct time. Press CLOCK pad again. NOTE: This is a 24-hour clock. During cooking, you can press CLOCK pad to check the present time. MICROWAVE COOKING PROGRAM In waiting mode, place food into oven and close the door. -
Page 12: Auto Cook
DEFROST Place food into oven and close the door. Press DEFROST pad. Use the number pads or press WEIGHT PADS to enter the weight of food.(100g-2500g) Press START/+30 SEC. pad to start the program. NOTE:During defrosting program, the system will pause the program to remind user to turn food over, after that press START/+30 SEC. -
Page 13: Add Cooking Time Function
Place food into oven and close the door. Press MUG pad. Press START/+30 SEC. pad to start the program. ADD COOKING TIME FUNCTION During cooking process, you can increase the cooking time by pressing START/+30 SEC. pad to increase 30 seconds each time. The maximum time you can set is 90 minutes except QUICK START. REHEAT or DEFROST program can not be set this function. -
Page 14: Cleaning And Care
Turn off the oven and remove the power plug from the wall socket before cleaning. Keep the inside of the oven clean. When food splatters or spilled liquids adhere to oven walls, wipe with a damp cloth. Mild detergent may be used if the oven gets very dirty. Avoid the use of spray and other harsh cleaners as they may stain, streak or dull the door surface.


